Halloween Cake Pops
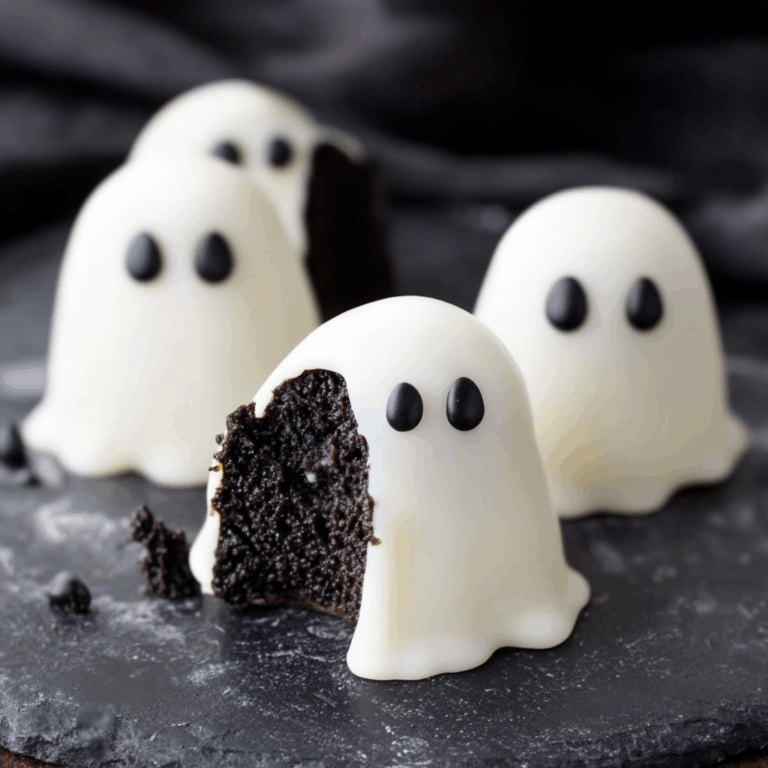
If you’re looking for a fun and festive treat to celebrate Halloween, these Halloween Cake Pops are just what you need! They are not only adorable but also incredibly easy to make, making them perfect for busy weeknights or family gatherings. The best part? You can get creative with the decorations! Whether it’s a spooky mummy, a smiling pumpkin, or a quirky Frankenstein, the possibilities are endless. These little bites of joy will surely bring smiles to everyone’s faces at your next Halloween party.
Why You’ll Love This Recipe
- Super Simple: With just a few steps, you’ll have delicious cake pops ready in no time. Perfect for beginners!
- Family Fun: Get the kids involved in decorating their own cake pops. It’s a great way to bond and unleash creativity.
- Customizable: Choose your favorite cake mix and toppings. You can easily tailor these treats to suit everyone’s taste preferences.
- Make Ahead: Prepare the cake balls in advance and store them in the fridge. This way, you can save time on party day!
- Deliciously Decadent: Moist cake combined with creamy frosting and sweet candy melts makes for an irresistible treat!

Ingredients You’ll Need
Let’s gather some simple, wholesome ingredients for our spooky Halloween Cake Pops! You probably already have many of these items in your pantry.
For the Cake
- 1 box Favorite cake mix
- 1 3.4 oz box instant pudding mix
- 4 eggs
- 1 cup water
- 1/3 cup vegetable oil
For Assembly
- 1 cup Frosting
- Candy Melts
- Toppings – sprinkles, candy eyes
Variations
This recipe is wonderfully flexible! Feel free to experiment with different flavors and toppings.
- Change the Flavor: Swap out vanilla or chocolate cake mix for red velvet or lemon for a fun twist.
- Fun Toppings: Use nuts or crushed cookies instead of sprinkles for added texture.
- Dye the Candy Melts: Add food coloring to your melted candy melts to create vibrant pops that match your party theme.
- Fill Them Up: Try adding a surprise filling inside, like peanut butter or jam, before forming into balls.
How to Make Halloween Cake Pops
Step 1: Bake the Cake
Preheat your oven to 350°F and spray your 13 x 9 pan with vegetable pan spray. In a large bowl, combine your cake mix, pudding mix, eggs, water, and oil. Beat at medium speed for about 2 minutes until everything is well mixed. Pour this delightful batter into your prepared pan and bake for 30-40 minutes. Check if it’s done by inserting a toothpick into the center; if it comes out clean, it’s ready! Let it cool in the pan for about 10 minutes.
Step 2: Crumble the Cake
Once cooled, it’s time to crumble that beautiful cake! In a large bowl, use your hands (or two forks) to break the cake into fine crumbs until no large chunks remain. This step is crucial as it helps create that perfect texture when you form the cake balls later.
Step 3: Mix in Frosting
Add your frosting to the crumbled cake mixture. Get in there with your fingers and mix until everything is well combined. The frosting adds moisture and sweetness that will help bind everything together—this is where all the magic happens!
Step 4: Form Cake Balls
Now it’s time to shape those yummy bites! Take small portions of the mixture and roll them into balls—about one inch in diameter works best. Place them on a baking sheet lined with parchment paper as you go.
Step 5: Chill
Chill those lovely cake balls in the refrigerator for at least two hours. This helps them firm up so they won’t fall apart when dipping later.
Step 6: Melt Candy Melts
While you’re waiting, melt those candy melts! Do this in 30-second intervals either in the microwave at 50% power or on a stovetop until completely smooth. This will be your beautiful coating!
Step 7: Insert Sticks
Dip one end of each stick into the melted candy melts before inserting them into each chilled cake ball. This little trick helps keep them secure when you dip them later.
Step 8: Set & Dip
Allow them to set until firm (about 20 minutes in the freezer works wonders!). Once set, dip each pop fully into melted candy melts until coated completely.
Step 9: Decorate!
While still wet from dipping, sprinkle on your decorations like candy eyes or sprinkles before they dry completely. Get creative here—the spookier they look, the better!
And there you have it—deliciously adorable Halloween Cake Pops that are sure to impress at any gathering! Happy baking!
Pro Tips for Making Halloween Cake Pops
Creating Halloween Cake Pops can be a delightful experience, especially when you follow a few handy tips to ensure they turn out perfectly!
- Use room temperature ingredients – Bringing your eggs and water to room temperature helps the cake mix blend more smoothly, resulting in a fluffier texture.
- Crumb the cake thoroughly – Ensure there are no large chunks when crumbling the cake. This allows for even mixing with the frosting, creating a cohesive cake ball that holds together nicely.
- Chill before dipping – Chilling the formed cake balls before dipping them into melted Candy Melts helps prevent them from falling off the sticks and ensures a smooth coating.
- Work with small batches of Candy Melts – Melting smaller amounts at a time makes it easier to keep the Candy Melts at an optimal dipping consistency without hardening.
- Be creative with decorations – Use various toppings like colored sprinkles or edible glitter to give your Halloween Cake Pops a unique twist. Personalizing them adds an extra layer of fun for your guests!
How to Serve Halloween Cake Pops
Presenting your Halloween Cake Pops can be as enjoyable as making them! Here are some ideas to showcase these creepy yet cute treats at your next gathering.
Garnishes
- Colored Sugar Crystals – Drizzling or sprinkling colorful sugar crystals can add an extra shimmer and make your cake pops visually appealing.
- Chocolate Drizzle – A simple drizzle of melted chocolate over the pops can enhance their flavor and add an elegant touch that catches the eye.
Side Dishes
- Apple Slices with Caramel Dip – Crisp apple slices paired with creamy caramel dip provide a fresh contrast to the sweetness of the cake pops, making for a well-rounded dessert table.
- Monster Munch Snack Mix – A mix of popcorn, pretzels, nuts, and candy corn creates a crunchy snack that complements the soft texture of cake pops, perfect for munching on during spooky festivities.
- Ghostly Fruit Salad – A refreshing fruit salad featuring bananas, grapes, and orange slices can lighten up your dessert table while keeping with the Halloween theme—just add some ghostly marshmallow eyes!
By incorporating these serving suggestions along with our delightful Halloween Cake Pops recipe, you’re sure to create an unforgettable treat experience for everyone at your Halloween party! Enjoy crafting these spooky sweets and sharing them with friends and family!
Make Ahead and Storage
These Halloween Cake Pops are perfect for meal prep! You can prepare the cake pops in advance and store them until you’re ready to serve. This makes them an excellent option for busy schedules or party planning.
Storing Leftovers
- Store leftover cake pops in an airtight container at room temperature for up to 3 days.
- If you live in a warmer climate, consider refrigerating them to maintain freshness.
- Ensure they are completely dry before storing to prevent moisture buildup.
Freezing
- To freeze cake pops, place them on a baking sheet lined with parchment paper and freeze for about 1-2 hours until solid.
- Once frozen, transfer them to a freezer-safe bag or container, separating layers with parchment paper.
- They can be stored in the freezer for up to 2 months.
Reheating
- Thaw frozen cake pops in the refrigerator overnight before serving.
- Avoid microwaving as it may cause the candy coating to melt unevenly.
FAQs
Here are some common questions about Halloween Cake Pops that might help you out!
Can I use different flavors for Halloween Cake Pops?
Absolutely! You can use any flavor of cake mix you prefer, whether it’s chocolate, vanilla, or even red velvet. Get creative with your combinations!
How do I decorate my Halloween Cake Pops?
For decorating your Halloween Cake Pops, use melted Candy Melts and experiment with various toppings like sprinkles, chopped candies, or edible glitter. Have fun creating spooky designs!
How long do Halloween Cake Pops last?
When stored properly at room temperature, Halloween Cake Pops can last up to 3 days. If refrigerated or frozen, they can last longer—up to 2 months in the freezer!
Can I make Halloween Cake Pops without eggs?
Yes! You can substitute eggs with unsweetened applesauce or a commercial egg replacer if you’re looking for an egg-free option.
Final Thoughts
I hope you enjoy making these delightful Halloween Cake Pops as much as I do! They’re not just tasty treats but also a fun way to get creative during the spooky season. Whether you’re hosting a party or just want to indulge in some festive fun, these cake pops are sure to impress everyone around you. Happy baking!
Halloween Cake Pops
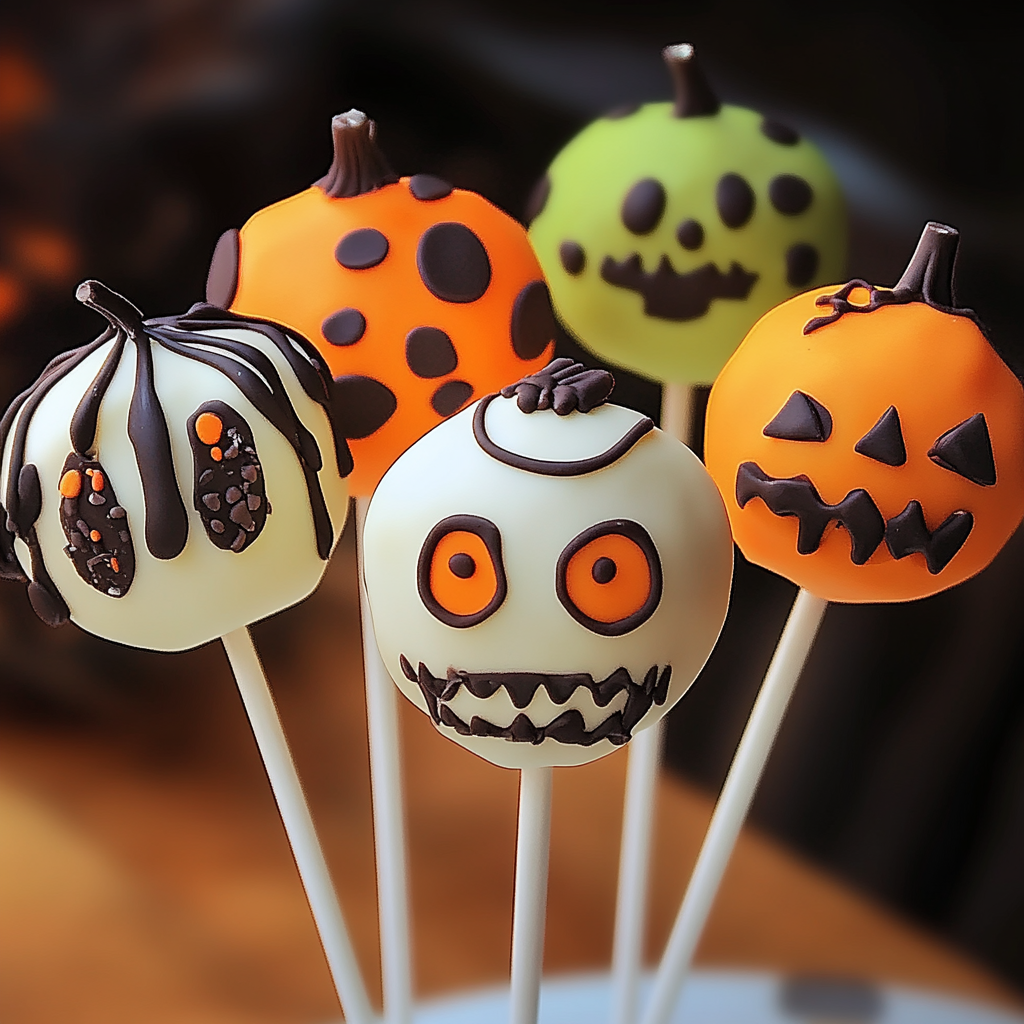
Looking to add a delightful twist to your Halloween festivities? These Halloween Cake Pops are the perfect combination of fun and flavor. With their charming designs, you can easily transform them into spooky mummies, cheerful pumpkins, or quirky monsters, making them an exciting activity for family gatherings or parties. Not only are they simple to create, but they also allow for endless customization with various cake flavors and toppings. Prepare in advance to save time on the big day and watch as these bite-sized treats bring joy to everyone around you. Dive into this easy recipe and let your creativity shine!
- Prep Time: 20 minutes
- Cook Time: 35 minutes
- Total Time: 55 minutes
- Yield: Approximately 20 servings 1x
- Category: Dessert
- Method: Baking
- Cuisine: American
Ingredients
- 1 box favorite cake mix
- 1 3.4 oz box instant pudding mix
- 4 eggs
- 1 cup water
- 1/3 cup vegetable oil
- 1 cup frosting
- Candy melts
- Toppings (sprinkles, candy eyes)
Instructions
- Preheat the oven to 350°F. Spray a 13 x 9-inch pan with vegetable spray.
- In a large bowl, combine cake mix, pudding mix, eggs, water, and oil; beat for about 2 minutes.
- Pour the batter into the prepared pan and bake for 30-40 minutes until done. Cool for about 10 minutes.
- Crumble the cooled cake into fine crumbs in a large bowl.
- Mix in the frosting until well combined.
- Roll small portions of the mixture into balls (about one inch in diameter) and place on a lined baking sheet.
- Chill in the refrigerator for at least two hours.
- Melt candy melts in intervals until smooth.
- Dip one end of each stick into melted candy before inserting it into each chilled cake ball.
- Dip each pop fully into melted candy melts and decorate while wet.
Nutrition
- Serving Size: 1 cake pop (45g)
- Calories: 150
- Sugar: 12g
- Sodium: 80mg
- Fat: 6g
- Saturated Fat: 2g
- Unsaturated Fat: 3g
- Trans Fat: 0g
- Carbohydrates: 21g
- Fiber: 0g
- Protein: 2g
- Cholesterol: 30mg